Sunday, September 22, 2013

Cranberry-Apple-Pumpkin Cake

     Since I've only ever posted one copycat recipe before, I think it's pretty clear that I like to be original whenever possible. However, when I saw the picture of this beautiful bundt cake on the cover of Southern Living's fall recipes edition, I couldn't resist. I had to recreate it exactly as it was. So that's what I did, and somehow, mine actually turned out looking just like the original. I had actually never baked a bundt cake before, so I was concerned about weather or not the shape would be right in the end. While I did go a little overboard buttering the pan, I'd still call it a success. Unfortunately, I don't have the name of the person who first came up with this recipe, but whoever you are, thank you for all of the pumpkiny, mapley goodness you've brought into my life.

INGREDIENTS: (serves 12)

For filling:
3/4 cup chopped pecans
2 Granny Smith apples, peeled and diced
2 tablespoons melted butter
1/2 cup dried cranberries
1/3 cup brown sugar
3 tablespoons flour

For cake:
2 cups granulated sugar
2 sticks of butter, softened
4 eggs
1 15oz can of pumpkin
1 tablespoon vanilla
3 cups flour
2 teaspoons pumpkin pie spice
2 teaspoons baking powder
1/2 teaspoon baking soda

For glaze:
1/2 cup maple syrup
2 tablespoons butter
1 tablespoon heavy cream
1 teaspoon vanilla
1 cup powdered sugar

DIRECTIONS:
1. Toast the pecans: Preheat the oven to 350, spread them out on a cookie sheet, and bake for 7 minutes. Meanwhile, generously butter and flour a 10in. bundt pan. Then take the pecans out and lower the oven to 325.
2. In a small bowl, mix all of the filling ingredients together. (Diced apples, toasted pecans, dried cranberries, melted butter, brown sugar, and flour)
3. In a large bowl, use an electric mixer to beat the butter and sugar until fluffy. Then add the eggs, one at a time. Next, add the pumpkin and vanilla and mix until smooth.
4. In a separate bowl, mix the 3 cups of flour with the baking soda, baking powder, and pumpkin pie spice. Then gradually mix the dry ingredients into the wet ingredients until smooth.
5. Spoon about half of the cake batter into the bottom of the bundt pan, creating an even layer. Then, spoon the filling mixture in another layer on top. If you want to be super fancy and not have the filling layer show on the outside of the cake, do what I didn't and leave some of the first layer of cake batter showing on both sides of the filling layer.
6. Now, spoon the rest of the cake batter into the pan, making sure to cover all of the filling.
7. Bake at 325 for 1 hour and 15 minutes. Then, let it cool in the pan for 15 minutes. Carefully run a knife here and there along the edge, but don't drag it all the way around. Finally, hold your platter on top of the bundt pan, flip it, and carefully lift the pan off.

Unfortunately, my camera batteries died at this point, so little cell phone pictures will have to suffice.

8. To make the glaze, bring the syrup, butter, and cream to a boil in a small saucepan over medium heat. Boil and stir for 2 minutes.
9. Turn off the heat, add the vanilla, then gradually whisk in the powdered sugar, and stir for about 5 more minutes until it starts to thicken. Then pour it all over the cake and serve.
I really wish I had the time to do some food styling for this beauty, but cooking for the whole dorm is always a race against the clock, so you'll just have to make one yourselves to really admire it!

Wild Rice with Fennel, Walnuts, and Cranberries

     Usually, I get very irritated when people get all excited about fall-themed things before fall actually begins. If it's before October 1st, just let me enjoy the fact that it's still summer in my mind. However, this year I was inspired to accept the changing of the seasons a little earlier, and of course, this inspiration came through food. Those recipe magazines right next to the registers at the grocery store are a very tempting impulse buy, and this week, I found one full of delicious-looking fall foods. Later this week, I'll be posting a pumpkin cake recipe, which was already so perfect, that I had to copycat it directly from said magazine. But since 99% of the time, I hate being a culinary copycat, I really made today's rice recipe my own, to make it easier, cheaper, and yes, I'll say it...better!
     Like most of my recent culinary endeavors, I had to tripe this recipe in order to feed my whole dorm, so once again, please don't be alarmed by the extremely large quantities of food pictured here. The ingredient list is for 6-8 servings. I"ll admit that I was a little nervous cooking this dish for all my housemates because the mix of flavors, while extremely delicious, is a little out of the ordinary. But when I come up with a recipe that just happens to be gluten-free, dairy-free, and vegetarian, I just have to make it for the house. I found the mix of flavors to be delightfully festive for fall, and luckily, everyone seemed to agree.

INGREDIENTS:
2 little boxes of wild rice (5 servings, according to the packages)
1 cup of uncooked brown rice
1 fennel bulb, slices, plus the fronds for garnish
1 medium onion
2 cloves of garlic
Frozen peas (however many you want)
1 cup vegetable broth
1/2 cup dried cranberries
1/2 cup chopped walnuts
2 tablespoons white wine vinegar
salt and pepper to taste

DIRECTIONS:
1. Cook each type of rice in a separate pot, according to the package directions. Brown rice usually takes 45 minutes, and wild rice up to an hour.
2. Meanwhile, chop the onion, garlic, and fennel. You won't need the fennel stalks, just the bulb part that looks like an onion and the leafy parts on top. Notice the delightful anise smell of the fennel as you chop it. It won't taste that strong once cooked, so don't worry if (like me) you hate licorice.
3. In a frying pan, sauté the fennel and onion in a little olive oil for about 5 minutes or until tender. Then, add the garlic and season with salt and pepper.
4. Add the broth, and bring to a boil. Then turn off the heat.

5. While the pan is still hot, stir in the frozen peas, cranberries, walnuts, fennel fronds, and white wine vinegar.

6. Finally, in a large serving bowl, mix all of this together with both types of rice.
Enjoy, and come back later this week for the promised pumpkin cake and more!

Monday, September 16, 2013

Peach, Plum, and Apricot Pie

     I've made plum pie, I've made peach cobbler, and I've made an apricot tart, but one day, I started thinking about what would happen if I combined all three into one pie. It would be the trifecta of stone fruits! In theory, it made sense, since these fruits are all like cousins, some sweet, others tart. So I took my classic fruit pie recipe and tested my theory. Unfortunately, neither Mother Nature, nor the supermarket gods were on my side at the time, so I couldn't find any fresh apricots, but I guarantee that they would have been great in this pie, so let's just pretend that they were in there this time. Also, against my better judgement, I did decide to make my own crust this time. Click here for instructions on that, or just use the pre-made crust. It was my intention to make a fancy lattice crust on top, but since I also had to make 2 other pies, plus dinner for my 12 housemates, I ran out of energy after hour 3 in the kitchen. (But this particular pie should only take an hour and a half.) So once again, I used my favorite crumble topping. Finally, I also made an individual-sized gluten-free version of this pie, of which I am very proud. I'll share my tips on that at the end of this post.

INGREDIENTS:
one pre-made or homemade crust (Click the link above.)

Filling:
3 peaches
4 plums
3 apricots
1/4 cup flour
1/2 cup brown sugar
1 teaspoon cinnamon

Topping:
1 stick cold butter, cubed
2/3 cup whole oats
2/3 cup chopped walnuts
2/3 cup flour
2/3 cup brown sugar

DIRECTIONS:
1. Preheat oven to 350, prepare your crust, and fit it into a lightly greased 8 or 9inch glass pie plate.
2. Wash all the fruit, peel only the peaches, and cut everything into wedges.
3. In a large bowl, toss the fruit with the brown sugar, flour, and cinnamon. Then, pour it over the crust into the pie plate.

 4. Prepare the crumble topping by mixing the dry ingredients together in a medium bowl and then cutting in the butter until the texture looks pebbly. To make it super easy, just pulse it in a food processor.
5. Spread the crumble all over the top of the pie. Then bake it for 1 hour.
Once again, I couldn't get a decent-looking slice to take a picture of because I don't think my roommates would have been too happy if I made them wait 2 hours until it cooled. Oh well, you'll just have to believe me that it was just as beautiful on the inside.

And now for my gluten-free masterpiece...

At first, I thought that making a gluten-free pie crust would require expensive ingredients and way too much effort, but it really didn't. Basically, I just cut my regular pie crust recipe in half, substituted a gluten-free all-purpose baking mix every time I needed flour, and made a top crust instead of the crumble. And it ended up looking really cute in my itty-bitty tart pan.

Enjoy your Pie Monday everyone, and check back later in the week for some fall recipes!

Sunday, September 15, 2013

I've Been Eating This Since I was 3: Hamburger and Rice

     Today's recipe was the taste of my childhood. Supposedly, my great-grandmother invented it, and today, everyone in my family knows how to make it, but we all put our own little twists on it. Since my dad has about six recipes that he makes well and this is one of them, we would have this for dinner at least a few times a month ever since I was a very small child. What I remember most about it when I was young, was the way it made the whole house smell like garlic, which I considered a good thing. Since it's really easy and only takes half an hour to make, it's one of the first dinner recipes I ever learned. Today, it's my go-to dinner recipe when I'm either lazy, uninspired, or homesick. Traditionally, the stew/gravy is served over rice, but one day, I decided to switch things up and have it on macaroni instead, which turned out to be an ingenious idea. Even though there isn't any rice in this version, we still refer to it as "hamburger and rice on macaroni." I don't know what my extended family members will think of that, but it's my contribution. And if any of you are reading this, I sure hope this recipe wasn't some sort of family secret.

Note: On this particular day, I was making this recipe for 13 people, so please ignore the obscenely large quantity of food shown in the pictures.

INGREDIENTS: (makes about 4 servings)
1 cup of rice, or more if you want
about 1lb of ground beef
1 large green bell pepper
1/2 medium onion
2 cloves of garlic
2 10oz cans condensed tomato soup
10oz of water

DIRECTIONS:
1. Cook the rice. Hopefully, I don't have to explain that...
2. Chop the green pepper into fairly large chunks and dice the onion and garlic.


3. Heat a frying pan, and brown the beef over medium heat. When it looks almost all cooked, add the onions and cook for a few more minutes until tender.
4. Add the green pepper and garlic, stir well, and cook for another few minutes.
5. Now add both cans of tomato soup, plus 1 can full of water. Stir it well, and when it comes to a boil, it's done.
6. Serve it in a big bowl over rice and enjoy!

Guess what day tomorrow is! That's right, it's Pie Monday!

Sunday, September 8, 2013

Flourless Chocolate Cake

     Now that I'm back at school and living in a dorm full of people with various dietary restrictions, cooking our shared meals has become a little more challenging. While some chefs would address this by greatly simplifying their menus, I choose to meet this challenge head on, and figure out how I can still make all the foods I love, and just adapt them slightly. For example, upon hearing that I can no longer cook with flour, it would be easy to give up on dessert, or at least to choose something that wouldn't normally require it. But no. This week, I refused to accept that. I wanted a chocolate cake, and I was prepared to do whatever it took to create a suitable one. The result, while obviously different from a traditional cake, was actually quite good, and tasted more like a rich, gooey brownie. Now I know that there entire food blogs devoted to gluten-free cooking and that they have come up with many different ways to bake their cakes, but this particular recipe will be my go-to gluten-free dessert because it's quick, easy, and most importantly, pretty cheap. The only minor problem I ran into with this recipe was in trying to prevent the cake from sticking to the pan. Just as I began cooking, I realized that you cannot flour a cake pan and still call the result gluten-free. So I just buttered it and hoped for the best, which unfortunately could have been a lot better. So I'm sure that somebody somewhere has found a solution to this problem, but my best tips are any and/or all of the following: Use a cake pan with great nonstick finish, line it with parchment paper and then grease it, or use almond flour or some other flour substitute to coat it. Also, this recipe makes a single cake, but feel free to double it, add some chocolate frosting, and create a double-decker if you want to!

INGREDIENTS: (Makes 1 round 8-inch cake)
6 ounces semisweet chocolate chips
1 stick of butter, cubed
3/4 cup granulated sugar
1/3 cup unsweetened cocoa powder
3 eggs
1 1/2 teaspoons baking powder
powdered sugar to sprinkle on top
optional fruit for garnishing (I used a few blueberries.)

DIRECTIONS:
1. Preheat the oven to 375 and prepare your pan.
2. Over a double boiler, melt the chocolate chips with the butter and stir well.
3. Once the chocolate chips and butter are completely melted together, beat in the eggs and then stir in the sugar, baking powder, and cocoa powder.
4. Add the batter to the pan and bake at 375 for about 30 minutes or until a toothpick comes out clean.
5. Let the cake cool for about 20 minutes, then dust it with powdered sugar and garnish it with fruit.
Enjoy! And come back later this week for an old family favorite!

Monday, September 2, 2013

Pomegranate Chocolate Chip Bagels

     Over the weekend, I was once again struck by a very strong urge to bake. Apparently dough just make me happy. It's bizarre, but I've really taken a liking to kneading dough. If I want to act like a grown-up, I could point out that it's a really great stress reliever. However, the process reminds me more often of playing with play dough as a kid, or even better, playing with the free dough they used to give all the kids at Chevy's. I wonder if they still do that. It always made my day.
     So I decided to bake another batch of bagels because my first attempt turned out so well, and more importantly, because it's impossible to not be happy when you're basically playing with grown-up play dough. Granted, it's a little trickier, but still not too bad. Since my main reason for making my own bagels is to invent more interesting flavors, I decided to combine two of my favorite things for this batch: Chocolate and pomegranates. I know it's unconventional, but this combination turned out to be the best thing I tasted all week. You can't find this particular kind of deliciousness in any bakery that I know of.
     This recipe is very similar to the first one I posted, but this time around, I had a little experience on my side, and have included some extra tips and tricks. This, like all breads, is still a rather time-consuming recipe, but much of that time is just waiting for the yeast to work its magic. This is a great project for a weekend, because then you can do as I did, and freeze some of the bagels for later in the week. To resuscitate them, just microwave them on the defrost setting for one minute, and then pop them in the toaster. One final note, this time, I had to do all the mixing and kneading by hand, because I unfortunately can't take my mom's professional KitchenAid with me to school. It was definitely more challenging to do the old-fashioned way, but it was a worthwhile learning experience. If you have an electric mixer, just follow the instructions in the link above. If not, keep reading, and don't be scared.

And without further ado....

INGREDIENTS: (makes 8 bagels)
1 packet of quick rise yeast
4 teaspoons sugar
1 1/2 teaspoons salt
1 1/2 cups slightly warm water
3 1/2 cups bread flour, plus extra for kneading
1/2 cup chocolate chips
seeds of 1/2 of a pomegranate

DIRECTIONS:
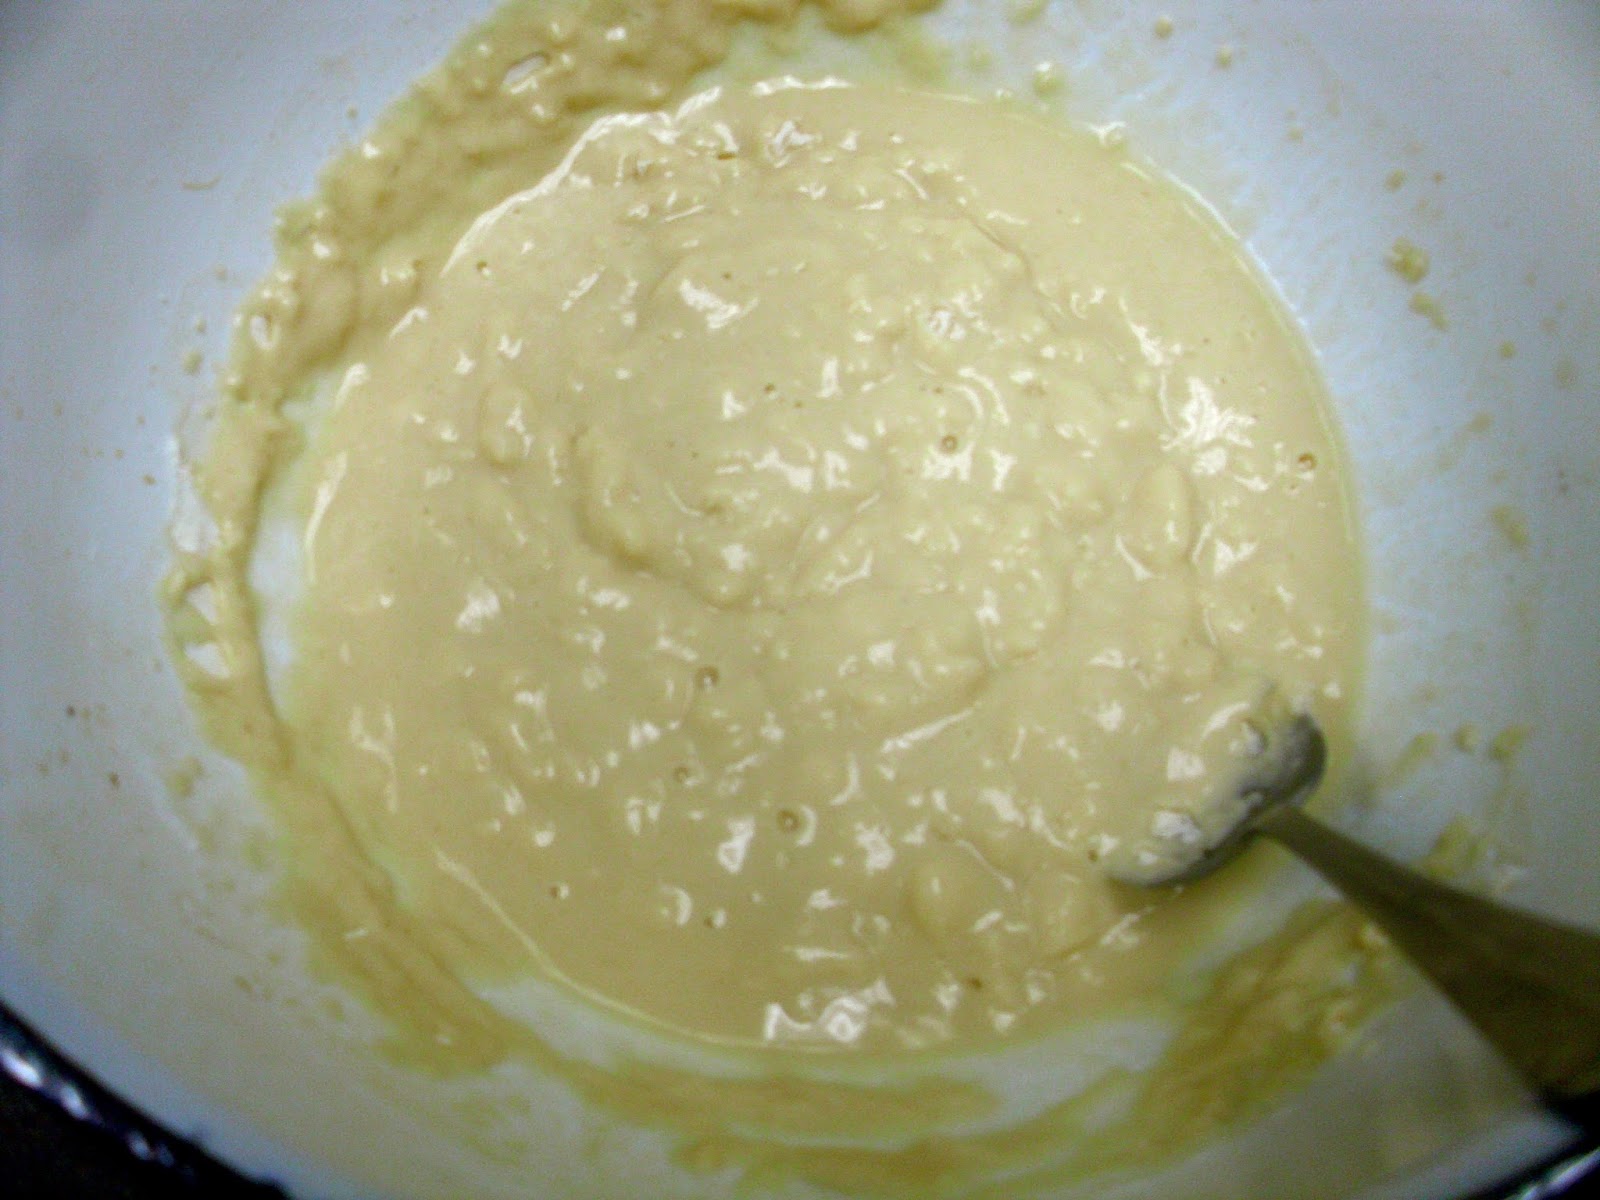
1. In a large bowl, mix the yeast, sugar, and salt. Then, stir in the warm warm water, and let it sit someplace warm for 5-10 minutes until it starts to get bubbly.
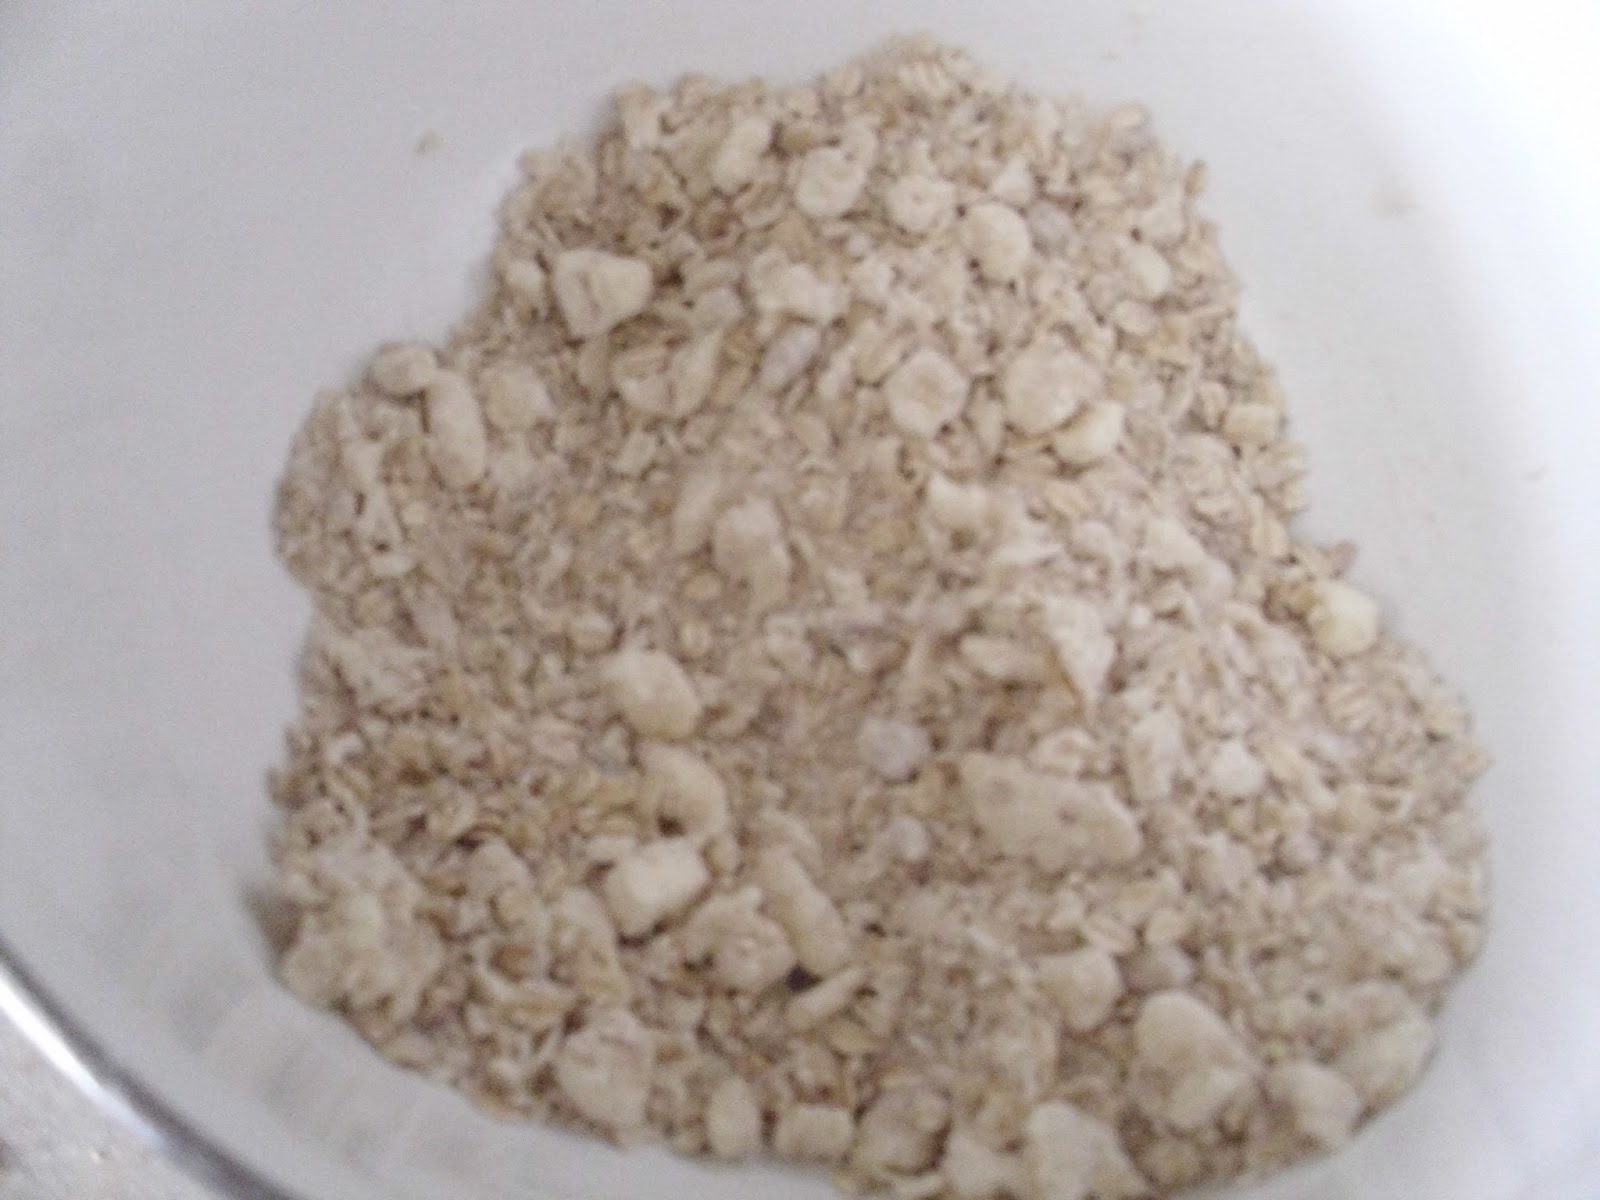
2. Use a big spoon to stir in the bread flour, 1/2 cup at a time. After 2 1/2 or 3 cups, it will probably start to look dry, but do your best too add all 3 1/2 cups, because once you start kneading it, the flour will get incorporated.

After adding 1 cup of flour, it will look like this:

After adding all 3 1/2 cups, it will temporarily look like this:
3. Now it's time to start kneading. First, just reach into the bowl and try to squish it together a little. Then, put the dough on a floured surface, and just work it together gradually. Try to fold the dry outside parts to the inside to eventually get all parts of the dough ball to be the same texture. This stage of kneading will take about 7 minutes. It might sound tricky, but the great thing about it is that it's easy to fix your mistakes. If the dough has a lot of cracks in it, it's to dry, so add a teaspoon of extra water. If the dough sticks to your hands, it's too wet, so add a little more flour.

4. Now it's time to add the mix-ins. I did this by simply trying to press the pomegranate seeds and chocolate chips into the whole surface of the dough, which turned out to be the hard way to do it. It would be easier to press the dough ball down a little, put the mix-ins in a pile in the center, and fold them in. Continue to knead the dough until everything is evenly distributed. One thing I did notice with this recipe, as opposed to my other bagels is that the water content of the fresh pomegranate seeds adds extra moisture to the dough that you wouldn't get using dried fruits. To accommodate for this, you may need to add a tiny bit more flour again at this stage.
5. When you're all done kneading the dough, put it in a lightly greased, but clean bowl, cover it with a dishcloth, and let it rise in a warm place for 1 hour, until it doubles in size.
6. After the dough has risen, transfer it back to your work surface, and gently pat it down a little, to get a slightly flattened circle. Now, take a sharp knife, and slice the dough circle into 8 equal triangles.
7. Take each wedge of dough, and roll it into a little ball. To turn it into a bagel, poke your finger through the middle and twirl it gently until the diameter of the hole is about 1/3 of the total diameter. Try to make the thickness even all the way around. Place the bagels on a parchment paper lined baking sheet, cover it with a dish towel again, and let the rise for at least 25 more minutes if you're impatient like me, but up to 45 if you want them to be bigger. While you're waiting, preheat the oven to 425 and boil a large pot of water.

8. After, the second rise, it's time to boil the bagels. Gently lower each one into the water and cook them at a low boil for 1 minute per side. Don't worry, they will float, but this particular recipe will make the water turn to a chocolaty color, which isn't really a problem.
9. After the bagels get boiled, their shape is pretty much set, so try to make sure they look good beforehand, because as you can see, some can turn out to be a little uneven. Let all the water drain off, then place them bak on the lined baking sheet.

10. Bake at 425 for about 25 minutes. Then be sure to try at least one while it's still warm, because nothing beats that kind of freshness!


With a little bit of cream cheese, these are absolutely amazing! They're a terrific way to start your day! Enjoy, and come back later this week for a very unique chocolate cake recipe!